Contents
You may have come across some of your emails that bounce. The (authentication error) is something of this type: Error message
This mail has been blocked because the sender is unauthenticated. Gmail requires all senders to authenticate with either SPF or DKIM. Αuthentication results: DKIM = did not pass SPF [domain name] with ip: [IP address] = did not pass the authentication
That means all email senders must verify their email servers before sending to Gmail or Yahoo. To send emails to those email providers you need to add specific MX (email) records to your DNS provider or host.
Google recently started to enforce their DMARC implementation and boy let me tell you. The amount of legitimate emails now ending up in spam or straight rejected is having a major impact to our business. Seems to be nothing we can do except report back to the sender company and explain as best we can the specific reason it’s failing. As many of you know big companies take foever to take action due to bureaucracy and small companies don’t really have [someone] dedicated to these types of things so they have no clue what they’re doing when it comes to DNS records. Sucks to tell “sorry but nothing we can do. Tell the sender to report the issues to their IT team” multiple times a day.
Why the change?
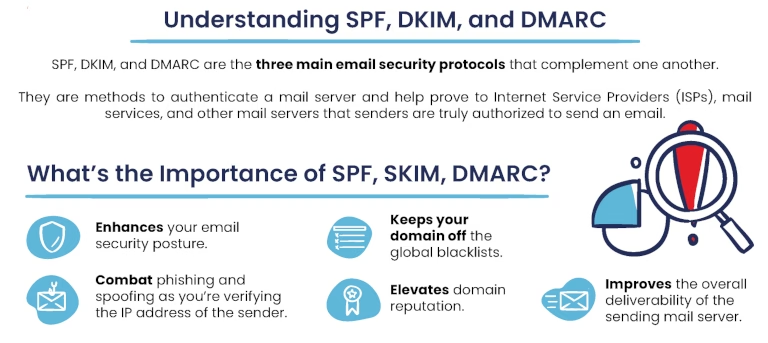
Gmail has a paid service for businesses, Google Workspace. Having seen their paid accounts infested with spam Google Workspace went ahead and blocked some billions of email addresses and strengthened their email receiving policy. All emails now should be authenticated with the three methods explained below:
1. SPF record
SPF (Sender Policy Framework) is an email authentication system that tells the world which servers are allowed to send email on behalf of your domain.
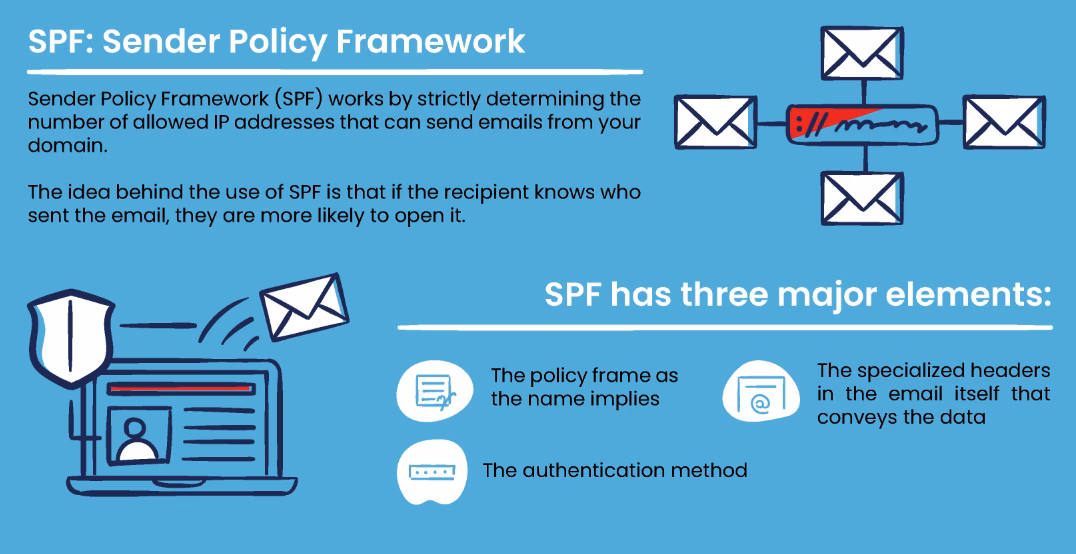
This email record helps to prevent spoofing and spam. Defines those email accounts, which are permitted to send emails on your domain’s behalf. This usually covers any third-party email sending services you use as well as your own mail servers (read below). Create a TXT record in your DNS settings with the value set to the SPF policy (below) and the name “@” (or your domain name). As an example:
v=spf1 include:_spf.example.com include:otherdomain.com -all
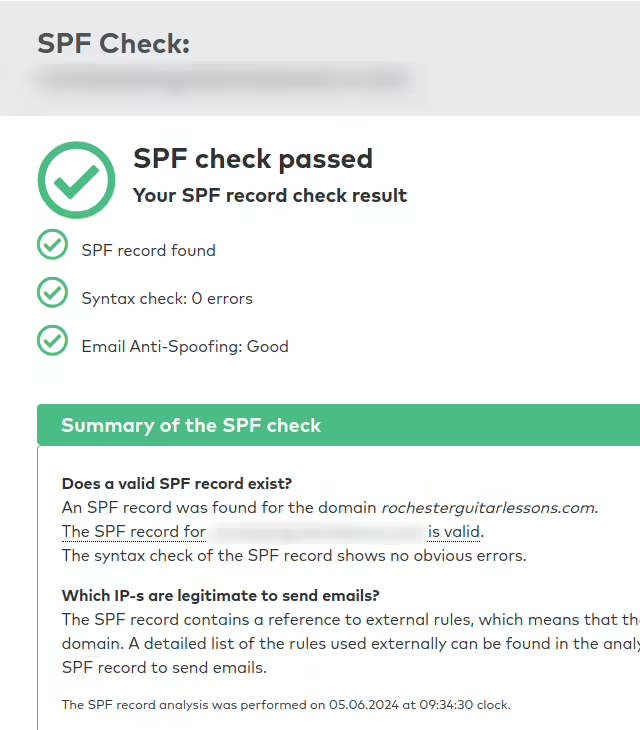
Replace “_spf.example.com” and “otherdomain.com” with the SPF records provided by your email service provider. Save the changes and allow time for DNS propagation. You may also use a generator like this one.
Google Workspace Only
If all email from your organization is sent using Google Workspace only, add this to your TXT DNS records:
v=spf1 include:_spf.google.com ~all
Let a pro handle the details
For example if your host is Siteground go to your DNS Zone Editor, you should add your site ID at the end of the link https://tools.siteground.com/dns?siteId= and add the SPF record above. 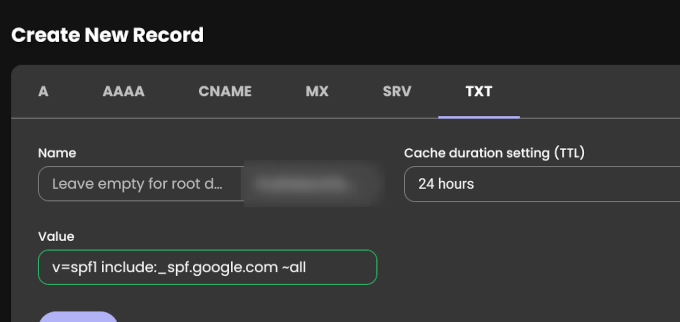 If you use cpanel look for the ‘Zone Editor’.
 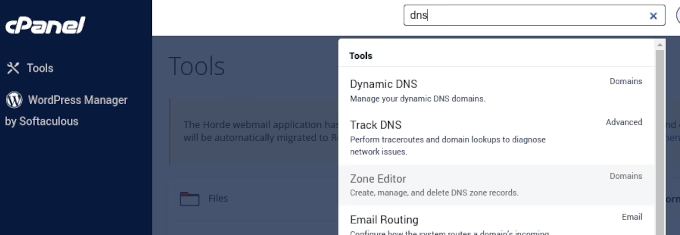 Find the domain and click on ‘Manage’.
Click to add a TXT record and insert the correct SPF record from those given above (Attention: one of them should be used only for Google Workspace. Use the other record if you don’t have it. You are lucky if you don’t because Google engineers have made it so complicated that you will spend hours to configure it (definitely offering a bad UX epxerience and lack of any usability testing for paid clients). Don’t forget to replace the ‘domain.com.’ with your domain. 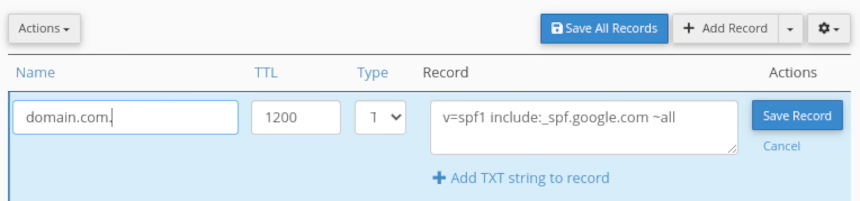
2. DKIM record
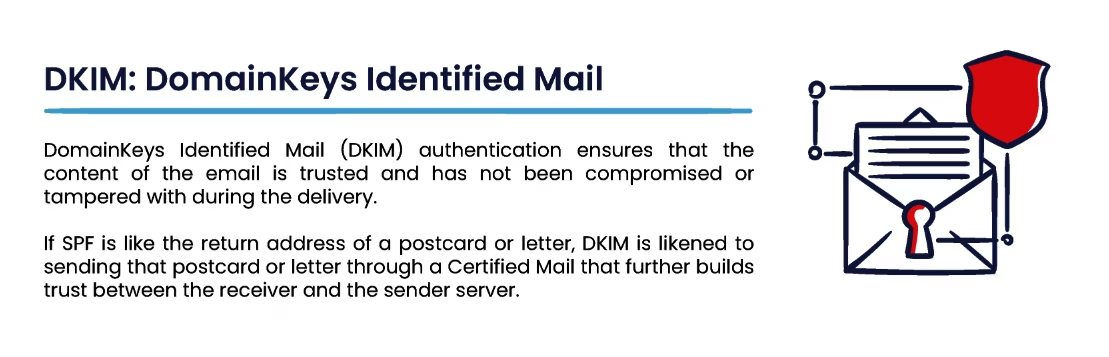
DKIM (DomainKeys Identified Mail) is an email authentication method that proves an email wasn’t tampered with and that it was authorized by the domain it claims to come from.
As they didn’t make difficult enough for webmasters here things get tougher! Just about all DKIM generators fail this step. e.g. easydmarc.com And by ‘fail’ I mean DKIM records get accepted in a few cases and definitely NOT in Google Workspace (so professional)! If you are trying it for the first time brace yourself to spend a few hours till you set DKIM straight. Even then, you need to take extra steps for Google Workspace, yes, again! The generator will output the record Name in the form of
s1._domainkey.yourdomain.com.
Like in the case of SPF you need to add a TXT record with name in the above form and record value the string you get from the generator. 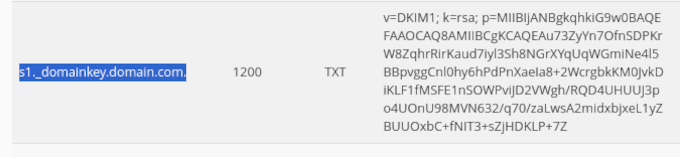 Remember: it won’t work to avoid bouncing your emails to Google Workspace users. Here’s the solution:
- Log in with an admin account to your Google Workspace
- Fill in the details and your domain (important) in the Workspace organization. Be sure to have a paid subscription for the next steps.
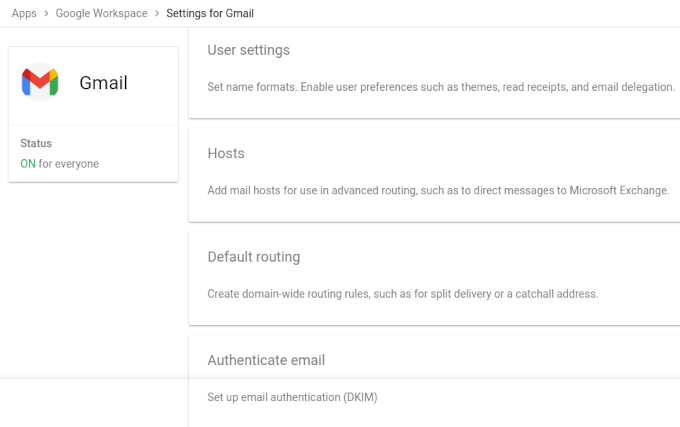
- Go to Apps > Google Workspace > Gmail (Settings for Gmail) and click on the ‘Authenticate email’ drop-down option.
 4. We want google as host name so you will get something like. Attention: the page offers a button that generates your domain record, be sure to click on that.
DNS Host name (TXT record name): google._domainkey
5. You need to insert this name in your TXT record Name followed by your domain. Replace yourdomain.com with your domain.
google._domainkey.yourdomain.com
Insert the string Google Workspace outputs for your domain in the TXT record value, e.g. something like TXT record value:
v=DKIM1; k=rsa; p=MIIBIjANBgkqhkiG9w0BAQEFAAOCAQ8AMIIBCgKCAQEA7QOgrEftmWuA2ugd/vrLvO+lb85o5WmTEMadK9YvopfY43YZlfOKF3RCPkD+GjOOvdQGHm0jwge+LeiiZEPbVHu2eeOmrDGbmYbIWIVUE63UsvsgTbozIU8cIFyzapptlpmEjdtiEDETlKV+NxBRDU/9i0ltlleT42iFso2W8bsjWG7kngseT/et6kuETXaxyjhIZ71UtwtCI7oOKI63Q0LAiUG/nCCrueKnuoMf3ri+7k3BlSLxq/nZgSnO9QL0OCV/8mM82pC/NGVAhDH901iS2zEg25rvBA/9oo+a0/Jf2jSpxG7m7LO2Ay9Gr4LSqNZ/qoWi2Jj9y8LcQlIO7QIDAQAB
6. Click the last button to start the record authentication. They say it takes 48 hours but if you have the option on your DNS to set a lower TTL (Time to Live) to 5 minutes up to an hour, chances are the authentication will be ready sooner. Was it easy or difficult? One step left to go.
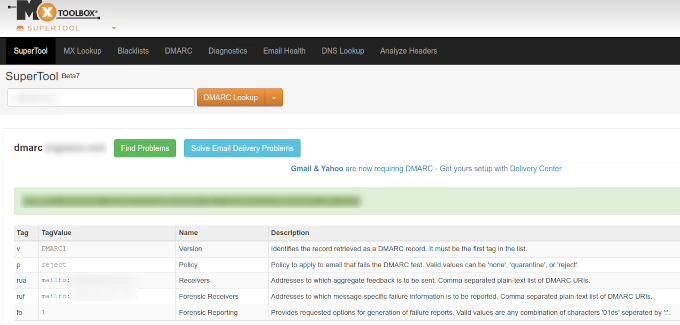
3. DMARC record
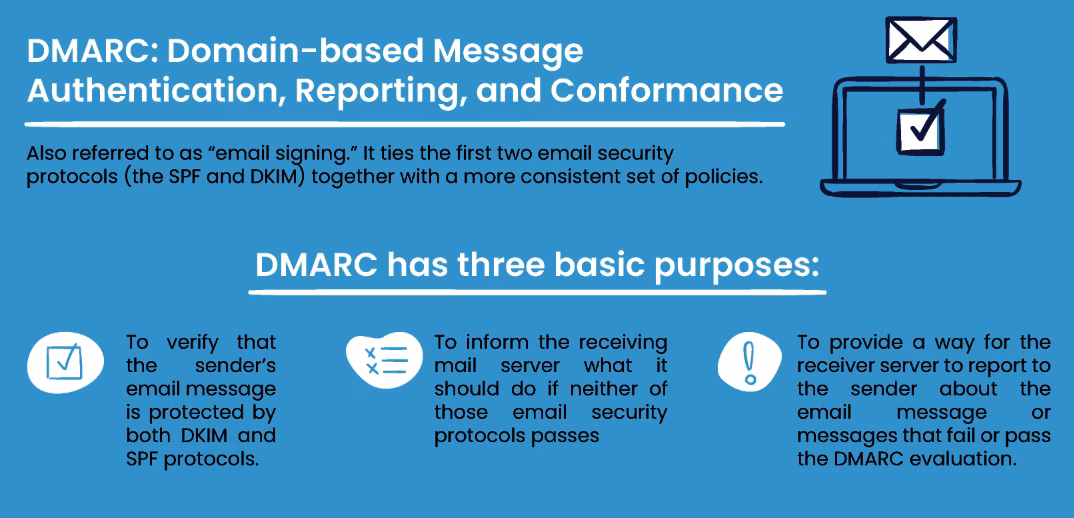
DMARC (Domain-based Message Authentication, Reporting & Conformance) is an email security policy that tells receiving mail servers what to do when an email claims to come from your domain but fails authentication checks.
In simple terms: it stops people from spoofing your domain to send fake emails.
This is left as last because Google prefers you have set SPF and DKIM before setting this record too. DMARC supposedly protects from spam, spoofing, and phishing. Same steps as before, you need to set a TXT record with name:
_dmarc.yourdomain.com
and value
v=DMARC1; p=reject; rua=mailto:yourwebmasteremail@yourdomain.com, mailto:dmarc@yourdomain.com; pct=100; adkim=s; aspf=s
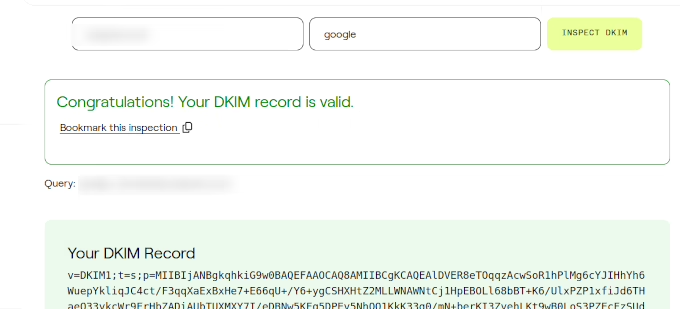
Again you may use a DMARC generator. Confirm your records with the Google tool.